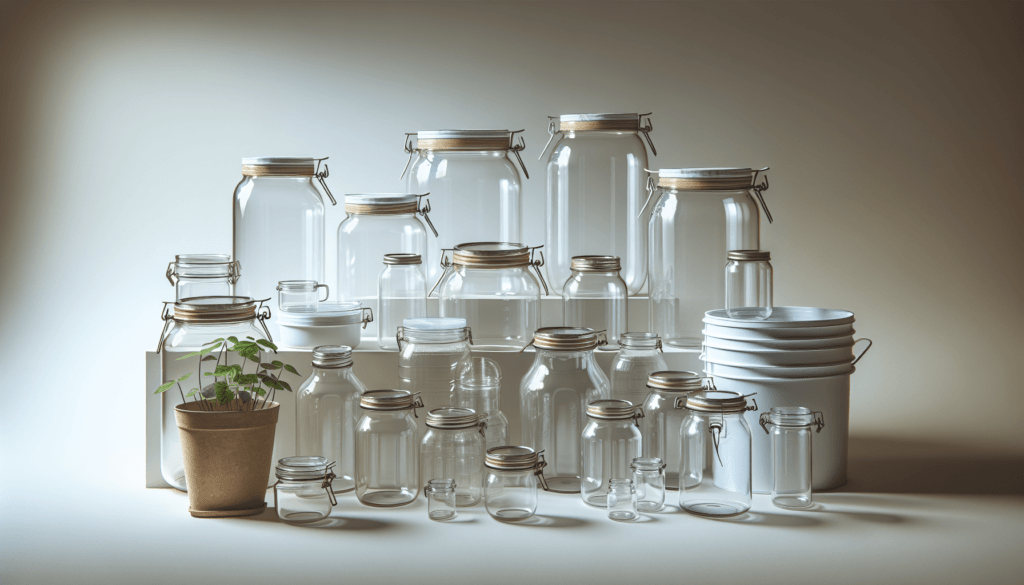
In our journey to mastering hydroponics, we’ve had our fair experiments on the Kratky Method. We’ve tried those shiny, fancy containers we’ve had our eyes on forever, bought the affordable ones from yard sales, and even repurposed old tubs and jars that once sat idly in our garage. Now, let’s gather around for some interesting finds we’ve stumbled upon while comparing different containers for our hydroponic gardening. Trust us when we say, it’s going to be a rollercoaster of astounding revelations!
Discovering the Kratky Method
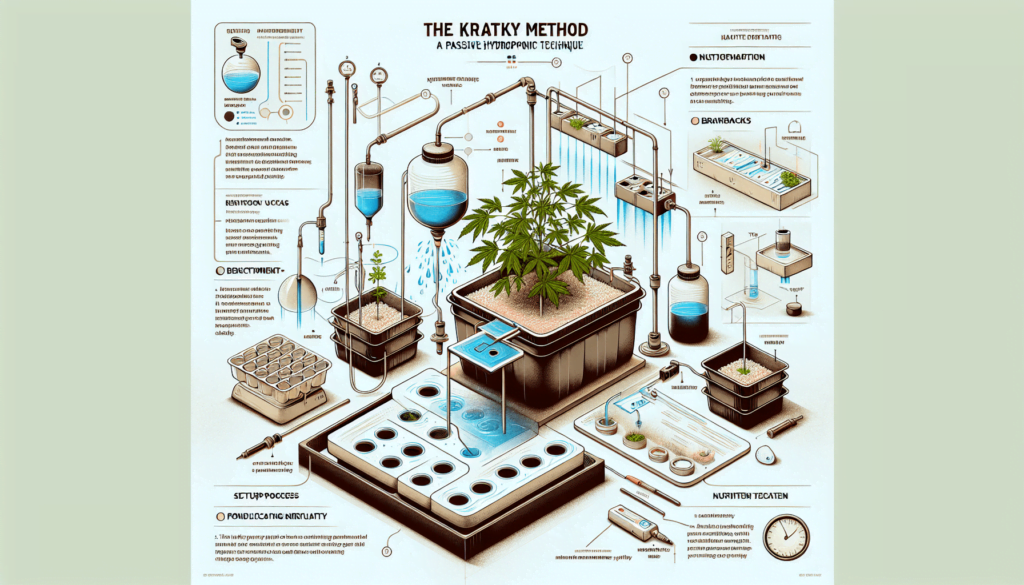
Imagine this: you’re enjoying your morning coffee, looking at your thriving indoor garden, and marveling at how low-maintenance it is. That’s the magic of the Kratky method! Named after Dr. B.A. Kratky, this hydroponic technique lets plants grow without pumps, electricity, or constant fussing. It’s like a set-it-and-forget-it system for your greens. The roots hang above a nutrient solution, sipping up what they need while also getting a breath of fresh air. Perfect for busy folks who still want a lush garden!
How Kratky Containers Work Their Magic
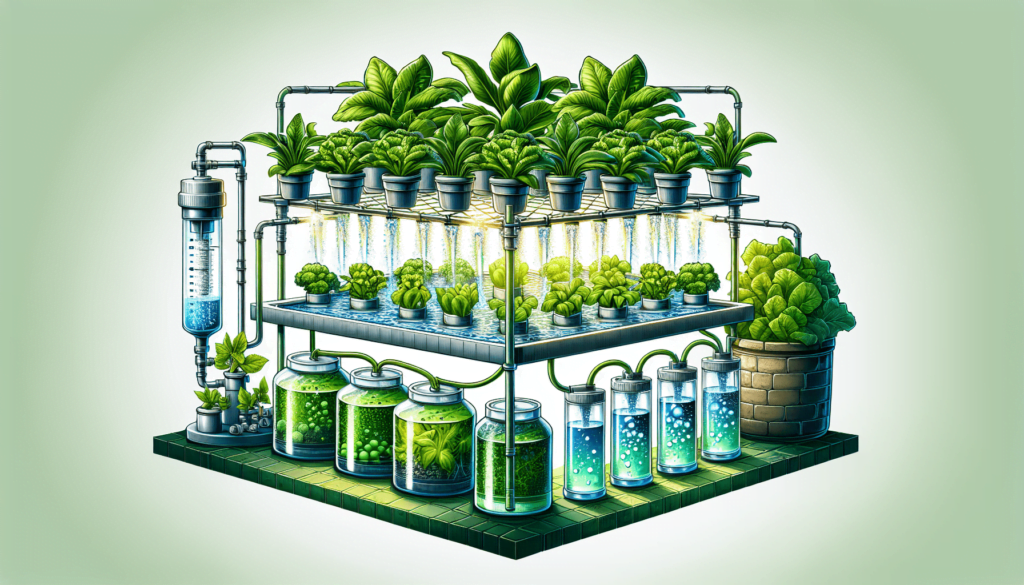
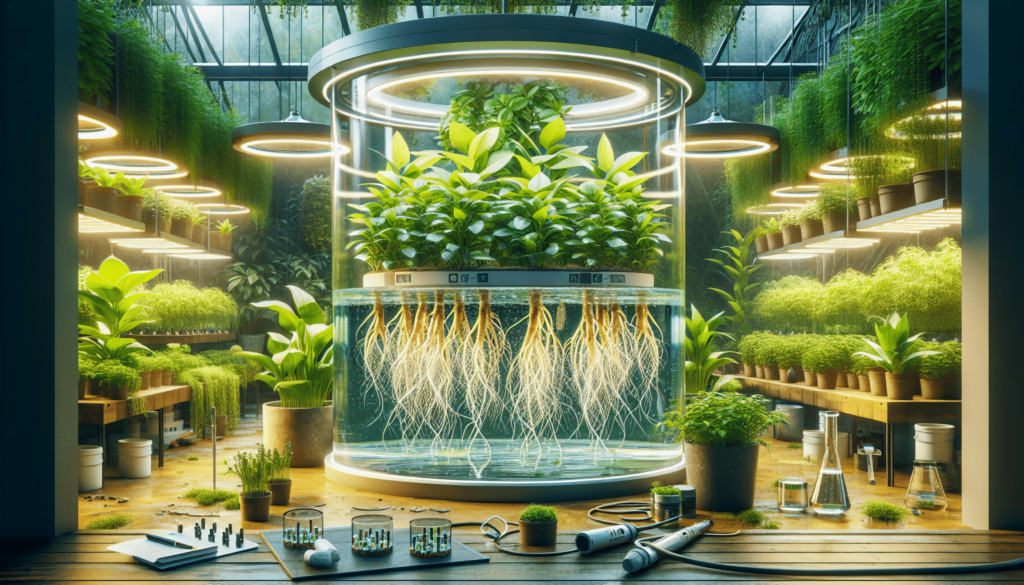
So, how do these Kratky containers actually work? Picture this: a container filled with a nutrient solution, with your plants perched above it. As they drink up, the water level drops, creating an air gap that gives the roots the oxygen they need. It’s like a self-regulating spa day for your plants, and all you need is the right container.
Detailed Breakdown of Kratky Container Mechanics
Let’s break it down even further. The Kratky method relies on a few key principles:
Nutrient Solution: This is a mix of water and essential nutrients that plants need to grow. It’s crucial to get the right balance to ensure your plants are happy and healthy.
Plant Suspension: Using net pots or other supports, plants are suspended above the nutrient solution. The roots dangle into the water, soaking up the nutrients they need.
Air Gap: As plants absorb the solution, the water level drops, creating an air gap. This allows the roots to get the oxygen they need, preventing root rot and promoting healthy growth.
Light Control: Containers need to be opaque or covered to prevent light from reaching the nutrient solution. This helps prevent algae growth, which can deplete nutrients and harm your plants.
Types of Containers for Kratky Hydroponics
Choosing the right container is crucial. Here are some popular options:
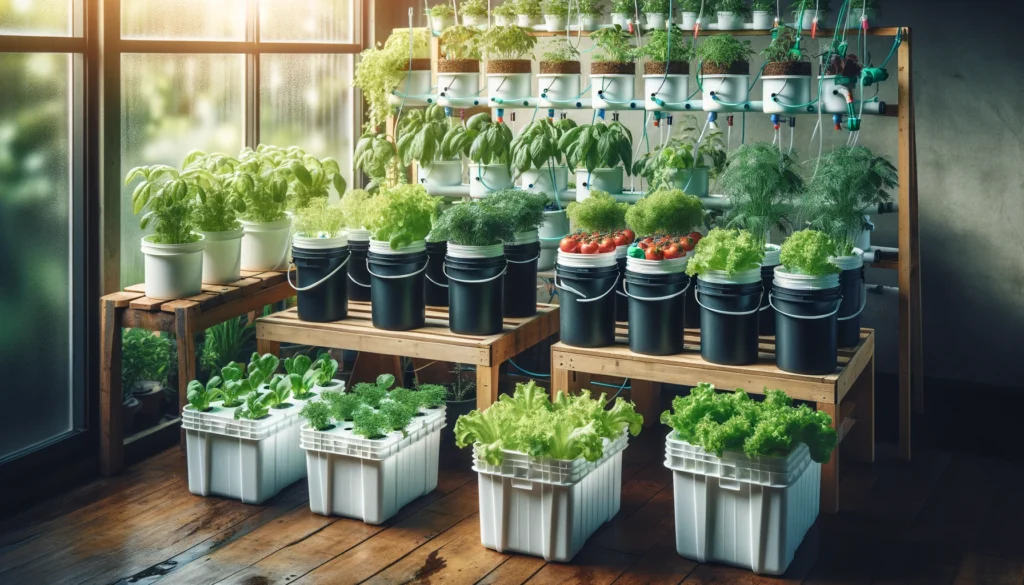
Buckets
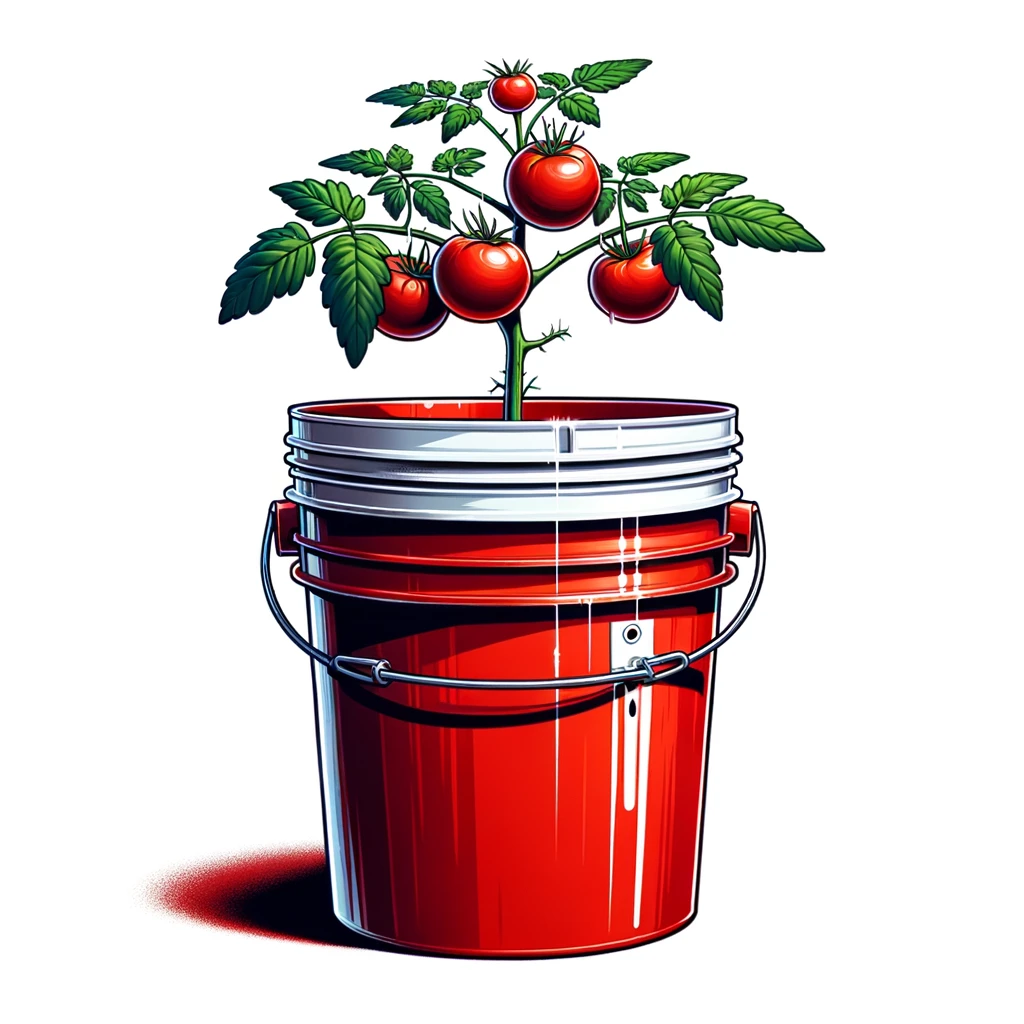
Buckets are the workhorses of hydroponics. They’re sturdy, come in various sizes, and can hold a lot of solution. Great for larger plants or multiple smaller ones.
Pros:
- Sturdy: Can handle heavy loads of nutrient solution.
- Versatile: Available in various sizes to suit different plants.
- Accessible: Easy to find and often inexpensive.
Cons:
- Bulky: Can take up significant space, especially indoors.
- Heat Retention: Dark-colored buckets can absorb heat, potentially affecting water temperature.
Jars
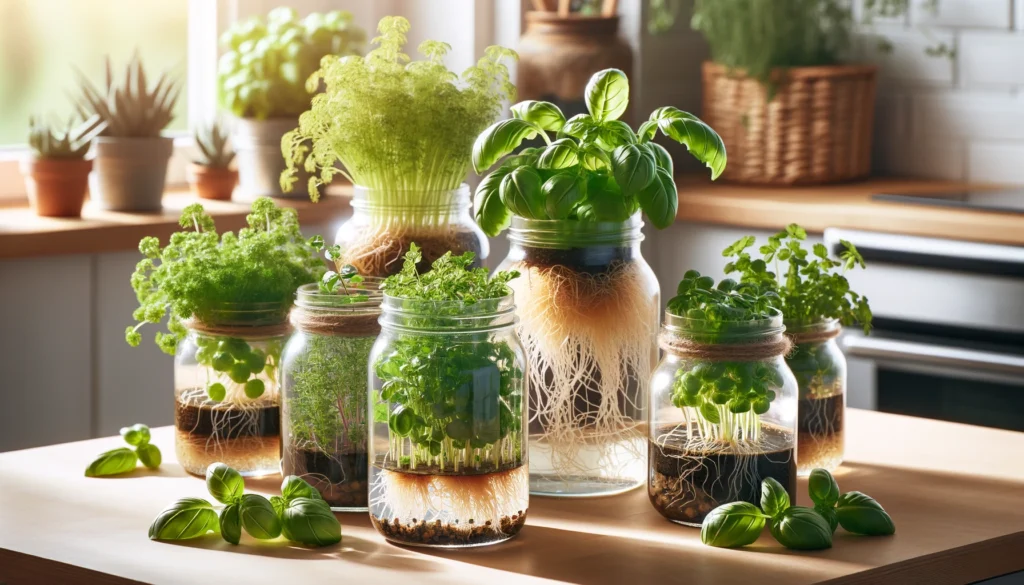
Perfect for herbs and small plants. Glass jars let you see the root development, which is pretty cool, but you’ll need to cover them to keep the light out.
Pros:
- Aesthetic: Glass jars can be visually appealing and allow you to monitor root growth.
- Compact: Ideal for small spaces like kitchen windowsills.
- Reusable: Easy to clean and reuse for different plants.
Cons:
- Light Exposure: Need to be covered to prevent algae growth.
- Limited Size: Not suitable for larger plants.
Plastic Totes
These are awesome for bigger setups. Durable and spacious, they can house several plants at once.
Pros:
- Spacious: Can accommodate multiple plants or larger root systems.
- Durable: Long-lasting and resistant to wear.
- Customizable: Easy to drill holes for net pots or drainage.
Cons:
- Cumbersome: Can be heavy and hard to move when filled.
- Space-Consuming: Require more room, making them less ideal for tight spaces.
Comparison Table
| Container Type | Ideal For | Pros | Cons |
|---|---|---|---|
| Buckets | Larger plants, multiple plants | Sturdy, large capacity | Bulky, need space |
| Jars | Herbs, small plants | Visible roots, easy to manage | Need light cover |
| Plastic Totes | Larger setups, multiple plants | Durable, lots of space | Can be cumbersome to move |
Choosing the Best Container for Your Space
Which type of container would best suit the space available for your hydroponic setup? Assess your growing area first:
- Small Spaces: Jars are great for windowsills and small kitchen spaces. They’re compact and easy to manage.
- Moderate Spaces: Buckets work well in garages, basements, or spare rooms. They require more space but are versatile.
- Large Spaces: Plastic totes are perfect for large setups, whether indoors or in a spacious outdoor area. They can accommodate multiple plants and larger root systems.
Prioritizing Cost, Durability, and Ease of Use
How do you prioritize the factors of cost, durability, and ease of use when selecting a container? Here’s a breakdown:
Cost
- Budget-Friendly: Repurposed jars and buckets are often the cheapest options. They’re easy to find and can be recycled for new plants.
- Investment: High-quality plastic totes may cost more initially but offer greater durability and capacity.
Durability
- Long-Lasting: Buckets and totes made of sturdy plastic can last several seasons with proper care.
- Moderate: Glass jars are durable but can break if not handled carefully.
Ease of Use
- Simple Setup: Jars and buckets are easy to set up and maintain. They’re straightforward for beginners.
- Advanced: Plastic totes require a bit more effort to set up, especially if drilling holes for net pots, but offer more growing space.
Practical Tips for Selecting Containers
- Assess Your Space: Consider where you’ll place your containers. Do you have a sunny windowsill for jars, or a garage corner for buckets and totes?
- Plan for Growth: Think about the size of the plants you want to grow. Larger plants like tomatoes will need bigger containers with more nutrient solution.
- Budget: While it’s tempting to go for the cheapest option, remember that quality materials can save you headaches down the road. Invest in sturdy, durable containers.
- DIY Possibilities: Don’t be afraid to get creative! Many gardeners repurpose items like food-grade buckets or storage bins. Just ensure they’re clean and safe for plants.
Setting Up Your Kratky Container
Let’s get your Kratky container up and running! It’s super easy:
Step-by-Step Setup Guide
- Prep the Container: Clean it well to avoid any nasty contaminants. Use a mild bleach solution to sterilize and rinse thoroughly.
- Fill It Up: Mix your nutrient solution according to the manufacturer’s instructions and fill the container.
- Plant Placement: Put your plants in net pots and suspend them above the solution. Make sure the roots can reach the water.
- Cover Up: Use an opaque cover with holes for the net pots to block light.
- Keep an Eye: Check the water level every few days and top it up as needed.
Tips for Success
- Start Small: If you’re new to hydroponics, start with a few plants to get the hang of the system.
- Monitor Regularly: Especially in the early days, keep a close watch on your plants and the water levels.
- Experiment: Try different containers and plants to see what works best for your setup and environment.
What Can You Grow in Kratky Containers?
The Kratky method is versatile. Here’s what you can grow:
Ideal Plants for Kratky Hydroponics
- Leafy Greens: Lettuce, spinach, kale – all the salad essentials. These plants are fast-growing and do well with minimal intervention.
- Herbs: Basil, mint, cilantro – perfect for your kitchen. Herbs are great for small spaces and provide fresh flavors for your cooking.
- Vegetables: Peppers, tomatoes, cucumbers – yes, you can grow these too! Just make sure you have large enough containers for their root systems.
Additional Plant Options
- Root Vegetables: Some root vegetables like radishes and carrots can also be grown in larger containers.
- Flowers: Don’t forget about ornamental plants! Marigolds and pansies can thrive in Kratky systems, adding a splash of color to your indoor garden.
Growing Tips for Different Plants
- Leafy Greens: These are the easiest to grow and require the least amount of nutrient solution. Keep an eye on their water levels and they’ll thrive.
- Herbs: Make sure they have plenty of light. Herbs like basil and mint love sunny spots, so place them near a window or under grow lights.
- Vegetables: These need more space and nutrients. Use larger containers and ensure they get enough light and support as they grow.
Considering Plant Needs
Have you considered the specific needs of the plants you intend to grow, and how different containers might impact their growth? Different plants have unique requirements:
Leafy Greens
- Containers: Jars and small buckets work well.
- Nutrient Needs: Moderate nutrient solution, frequent monitoring.
Herbs
- Containers: Jars or small buckets for compact growth.
- Light: Ensure plenty of light for optimal flavor and growth.
Vegetables
- Containers: Larger buckets or totes.
- Support: May require stakes or trellises for support as they grow.
Maintaining Your Kratky System
Keeping your Kratky system in top shape is a breeze:
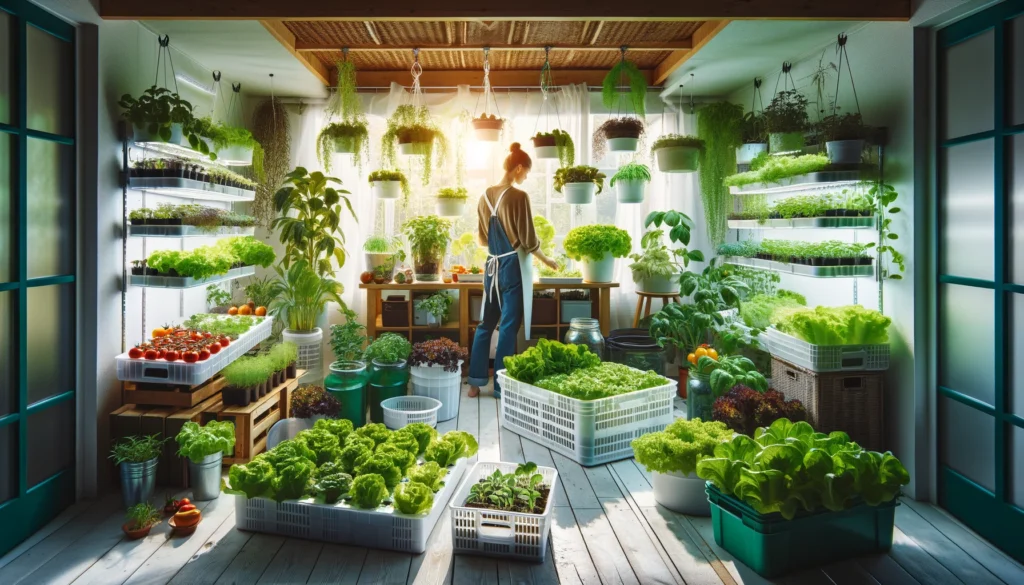
Regular Maintenance Tips
- Water Levels: Regularly check and top up the nutrient solution. The water level should never drop too low.
- Nutrients: Refresh the solution every few weeks to keep it potent. Plants consume nutrients, so regular replenishment is necessary.
- Algae Control: Keep the container covered to block light and prevent algae. Algae can compete with your plants for nutrients.
Troubleshooting Common Issues
- Nutrient Deficiencies: If your plants look a bit sad, check the nutrient levels and adjust as needed. Look for signs like yellowing leaves or stunted growth.
- Pests: Keep an eye out for pests and treat them organically. Use neem oil or insecticidal soap if needed.
- Algae Growth: Prevent it by keeping your container dark and clean. If algae appear, clean the container and replace the solution.
Common Problems and How to Fix Them
Every garden has its hiccups. Here are a few you might encounter and how to tackle them:
Identifying Problems
- Yellowing Leaves: This could be a sign of nutrient deficiency or overwatering. Check your nutrient solution and water levels.
- Root Rot: If the roots look slimy or smell bad, they may be too wet. Ensure there’s an adequate air gap and consider adding an air stone for extra oxygenation.
- Slow Growth: If plants aren’t growing as expected, they might need more light or nutrients. Adjust your setup accordingly.
Solutions and Preventative Measures
- Adjust Nutrients: Make sure you’re using the correct nutrient mix for your plants. Follow the manufacturer’s recommendations.
- Improve Light: Ensure your plants get enough light, either from natural sources or grow lights.
- Increase Aeration: Adding an air stone can help oxygenate the water and prevent root rot.
User Stories and Tips
Here are some success stories from our community:
John from Texas
“Using 5-gallon buckets for my Kratky setup has been a game-changer. My lettuce grows like wildfire! I started with just a couple of buckets in my garage, and now I have a whole setup that provides fresh greens all year round. It’s amazing how easy it is to manage. I just check the water levels every few days and top up the nutrients as needed.”
Sara from California
“I love using glass jars for my herbs. They’re easy to manage and look great in my kitchen window. Plus, I can see the roots growing, which is pretty cool. My basil and mint are thriving, and it’s so convenient to have fresh herbs right at my fingertips. I started with just a few jars and now I have a whole windowsill garden. It’s a great way to add a touch of green to my kitchen.”
Tips from Our Community
- Pat from New York: “I use black plastic totes for my tomatoes. They’re big enough for the roots, and the dark color keeps algae away. Just make sure they have enough light and support as they grow.”
- Lisa from Florida: “I repurpose food-grade buckets for my setup. They’re cheap and effective. Just drill a few holes for the net pots and you’re good to go!”
FAQs About Kratky Containers
- Can I use any container for the Kratky method?Almost! Just make sure it’s the right size, material, and durability. Ensure it’s food-grade and safe for plants.
Forum
Got something to share or a question to ask? Jump in and start a conversation! Whether it’s tips, advice, or just sharing your experiences, we’d love to hear from you. Don’t be shy—your input could inspire or help someone else!All about the Kratky Method.- This forum has 1 topic, and was last updated 10 months, 2 weeks ago by .
Viewing topic 1 (of 1 total)- Topic
- Voices
- Last Post
Viewing topic 1 (of 1 total)- You must be logged in to create new topics.
Register Here
- How often should I check the water levels?
Every few days. It’s better to be safe than sorry! Regular checks help prevent the plants from drying out and ensure they have enough nutrients.
Forum
Got something to share or a question to ask? Jump in and start a conversation! Whether it’s tips, advice, or just sharing your experiences, we’d love to hear from you. Don’t be shy—your input could inspire or help someone else!
All about the Kratky Method.- This forum has 1 topic, and was last updated 10 months, 2 weeks ago by .
Viewing topic 1 (of 1 total)- Topic
- Voices
- Last Post
Viewing topic 1 (of 1 total)- You must be logged in to create new topics.
Register Here
- What happens if the nutrient solution runs out?
Your plants might suffer from nutrient deficiencies and root dehydration, so keep it topped up. Regular monitoring is key to healthy plants.
Forum
Got something to share or a question to ask? Jump in and start a conversation! Whether it’s tips, advice, or just sharing your experiences, we’d love to hear from you. Don’t be shy—your input could inspire or help someone else!
All about the Kratky Method.- This forum has 1 topic, and was last updated 10 months, 2 weeks ago by .
Viewing topic 1 (of 1 total)- Topic
- Voices
- Last Post
Viewing topic 1 (of 1 total)- You must be logged in to create new topics.
Register Here
- Do I need special nutrients for the Kratky method?
Yes, using hydroponic-specific nutrients ensures your plants get all the necessary elements for optimal growth.
Forum
Got something to share or a question to ask? Jump in and start a conversation! Whether it’s tips, advice, or just sharing your experiences, we’d love to hear from you. Don’t be shy—your input could inspire or help someone else!
All about the Kratky Method.- This forum has 1 topic, and was last updated 10 months, 2 weeks ago by .
Viewing topic 1 (of 1 total)- Topic
- Voices
- Last Post
Viewing topic 1 (of 1 total)- You must be logged in to create new topics.
Register Here
- Can I use tap water for my nutrient solution?
It depends on your water quality. If your tap water is hard or chlorinated, consider using filtered or distilled water to avoid potential issues.
Forum
Got something to share or a question to ask? Jump in and start a conversation! Whether it’s tips, advice, or just sharing your experiences, we’d love to hear from you. Don’t be shy—your input could inspire or help someone else!
All about the Kratky Method.- This forum has 1 topic, and was last updated 10 months, 2 weeks ago by .
Viewing topic 1 (of 1 total)- Topic
- Voices
- Last Post
Viewing topic 1 (of 1 total)- You must be logged in to create new topics.
Register Here
Ready to Get Started?
Jump into the Kratky method and transform your home garden with these easy and effective containers. Got any tips or success stories to share? We’d love to hear from you! Join our community and let’s grow together.
Happy gardening!
Related Products
Disclosure: As an Amazon Associate, I earn from qualifying purchases.
-
%27%20fill-opacity%3D%27.5%27%3E%3Cellipse%20fill%3D%22%23302e37%22%20fill-opacity%3D%22.5%22%20rx%3D%221%22%20ry%3D%221%22%20transform%3D%22matrix(.19222%20-55.06788%20174.48562%20.60907%20199.2%20126.3)%22%2F%3E%3Cellipse%20fill%3D%22%23fff%22%20fill-opacity%3D%22.5%22%20rx%3D%221%22%20ry%3D%221%22%20transform%3D%22matrix(-2.34956%20-35.32875%20298.16945%20-19.82991%20100.2%2026.2)%22%2F%3E%3Cellipse%20fill%3D%22%23fff%22%20fill-opacity%3D%22.5%22%20rx%3D%221%22%20ry%3D%221%22%20transform%3D%22rotate(156.3%20110.7%20161)%20scale(119.58959%2054.77632)%22%2F%3E%3Cellipse%20fill%3D%22%23fff%22%20fill-opacity%3D%22.5%22%20rx%3D%221%22%20ry%3D%221%22%20transform%3D%22matrix(-12.00282%2031.76885%20-131.82715%20-49.80658%207.6%20185.7)%22%2F%3E%3C%2Fg%3E%3C%2Fsvg%3E) Set of 10 Wide Mouth Hydroponic Lid Inserts for Kratky Mason Jars – Ideal for Hydroponic Gardening with the Kratky Method$1.02
Set of 10 Wide Mouth Hydroponic Lid Inserts for Kratky Mason Jars – Ideal for Hydroponic Gardening with the Kratky Method$1.02 -
%27%20fill-opacity%3D%27.5%27%3E%3Cellipse%20fill%3D%22%2379813f%22%20fill-opacity%3D%22.5%22%20rx%3D%221%22%20ry%3D%221%22%20transform%3D%22matrix(14.42964%2049.33966%20-134.19954%2039.24734%20168.3%2088)%22%2F%3E%3Cellipse%20fill%3D%22%23e2ffff%22%20fill-opacity%3D%22.5%22%20rx%3D%221%22%20ry%3D%221%22%20transform%3D%22rotate(-106.1%20210.3%20-14.5)%20scale(55.78387%2073.26616)%22%2F%3E%3Cellipse%20fill%3D%22%23fff%22%20fill-opacity%3D%22.5%22%20rx%3D%221%22%20ry%3D%221%22%20transform%3D%22rotate(67.5%20-2.6%2024.3)%20scale(37.36159%2079.00568)%22%2F%3E%3Cellipse%20fill%3D%22%23f6ffff%22%20fill-opacity%3D%22.5%22%20rx%3D%221%22%20ry%3D%221%22%20transform%3D%22matrix(8.20148%20119.68844%20-33.36419%202.28623%20.6%20225)%22%2F%3E%3C%2Fg%3E%3C%2Fsvg%3E) Kiicii Kratky Method Hydroponic Planters Kit with 8 Planters and 24 Growing Sponges for Herbs, Mini Buckets for Windowsill Herb Garden Growing Hydroponically$27.99
Kiicii Kratky Method Hydroponic Planters Kit with 8 Planters and 24 Growing Sponges for Herbs, Mini Buckets for Windowsill Herb Garden Growing Hydroponically$27.99 -
%22%20transform%3D%22translate(.6%20.6)%20scale(1.17188)%22%20fill-opacity%3D%22.5%22%3E%3Cellipse%20fill%3D%22%23161423%22%20rx%3D%221%22%20ry%3D%221%22%20transform%3D%22matrix(-3.9113%20166.8838%20-32.7123%20-.76669%20196.7%2098)%22%2F%3E%3Cellipse%20fill%3D%22%23fdfdff%22%20rx%3D%221%22%20ry%3D%221%22%20transform%3D%22matrix(-26.54449%20-1.20205%205.51531%20-121.79295%207%20194.5)%22%2F%3E%3Cellipse%20fill%3D%22%23d4d2df%22%20cx%3D%22131%22%20cy%3D%22219%22%20rx%3D%2226%22%20ry%3D%22138%22%2F%3E%3Cellipse%20fill%3D%22%231f1d2c%22%20rx%3D%221%22%20ry%3D%221%22%20transform%3D%22matrix(-24.99196%201.04747%20-2.91153%20-69.4669%2071%20204.5)%22%2F%3E%3C%2Fg%3E%3C%2Fsvg%3E) Set of 12 Kratky Blackout Sleeves designed for 32 Oz Ball Mason Jars, in Black color for Wide Mouth Mason Jars. Ideal Grow cover for Mason Jar Hydroponics, Providing Protection…$1.02
Set of 12 Kratky Blackout Sleeves designed for 32 Oz Ball Mason Jars, in Black color for Wide Mouth Mason Jars. Ideal Grow cover for Mason Jar Hydroponics, Providing Protection…$1.02 -
%27%20fill-opacity%3D%27.5%27%3E%3Cellipse%20fill-opacity%3D%22.5%22%20rx%3D%221%22%20ry%3D%221%22%20transform%3D%22matrix(7.20838%20-157.58547%2069.95926%203.20012%2027.3%20161)%22%2F%3E%3Cellipse%20fill%3D%22%23fefffb%22%20fill-opacity%3D%22.5%22%20rx%3D%221%22%20ry%3D%221%22%20transform%3D%22matrix(-56.83612%2066.01308%20-142.25712%20-122.48093%20234.2%2060.2)%22%2F%3E%3Cellipse%20fill%3D%22%234f4f50%22%20fill-opacity%3D%22.5%22%20rx%3D%221%22%20ry%3D%221%22%20transform%3D%22matrix(-19.42673%20140.86169%20-35.27918%20-4.86548%20197.8%20158)%22%2F%3E%3Cellipse%20fill%3D%22%23fff%22%20fill-opacity%3D%22.5%22%20rx%3D%221%22%20ry%3D%221%22%20transform%3D%22matrix(33.10602%20-2.82599%2011.8093%20138.34422%20279.3%2044.6)%22%2F%3E%3C%2Fg%3E%3C%2Fsvg%3E) Set of 12 Kratky Wide Mouth Hydroponic Cover Lids with Mason Jar Inserts and Blackout Sleeves – Hydroponic Supplies for Kratky System$16.99
Set of 12 Kratky Wide Mouth Hydroponic Cover Lids with Mason Jar Inserts and Blackout Sleeves – Hydroponic Supplies for Kratky System$16.99 -
Product on sale
%22%20transform%3D%22translate(.6%20.6)%20scale(1.17188)%22%20fill-opacity%3D%22.5%22%3E%3Cellipse%20fill%3D%22%231d1b3b%22%20rx%3D%221%22%20ry%3D%221%22%20transform%3D%22matrix(-38.96009%2028.93697%20-41.39628%20-55.73502%20107.4%20165.8)%22%2F%3E%3Cellipse%20fill%3D%22%23b9b8d2%22%20cx%3D%22114%22%20cy%3D%2263%22%20rx%3D%2240%22%20ry%3D%2230%22%2F%3E%3Cellipse%20fill%3D%22%23e7bc71%22%20rx%3D%221%22%20ry%3D%221%22%20transform%3D%22matrix(41.26314%20-13.38748%2022.26826%2068.63564%20223.6%20253)%22%2F%3E%3Cellipse%20fill%3D%22%23c7bc66%22%20rx%3D%221%22%20ry%3D%221%22%20transform%3D%22matrix(17.5776%20-13.53657%2061.01616%2079.2311%2011.2%20179.9)%22%2F%3E%3C%2Fg%3E%3C%2Fsvg%3E) Set of 3 Kratky Lids for AeroGarden Pods – Works with Kratky Method, Passive Hydroponics, in BlackOriginal price was: $17.00.$12.95Current price is: $12.95.
Set of 3 Kratky Lids for AeroGarden Pods – Works with Kratky Method, Passive Hydroponics, in BlackOriginal price was: $17.00.$12.95Current price is: $12.95. -
%27%20fill-opacity%3D%27.5%27%3E%3Cellipse%20fill%3D%22%23fff%22%20fill-opacity%3D%22.5%22%20rx%3D%221%22%20ry%3D%221%22%20transform%3D%22matrix(-220.06914%2027.03746%20-7.73213%20-62.93505%20105.5%2028.5)%22%2F%3E%3Cellipse%20fill%3D%22%235a595c%22%20fill-opacity%3D%22.5%22%20rx%3D%221%22%20ry%3D%221%22%20transform%3D%22matrix(6.63354%20-56.4686%20148.17275%2017.4063%20165.6%20217.6)%22%2F%3E%3Cellipse%20fill%3D%22%238dba35%22%20fill-opacity%3D%22.5%22%20rx%3D%221%22%20ry%3D%221%22%20transform%3D%22matrix(-46.41049%20-4.55059%202.5282%20-25.78462%20270%2089.2)%22%2F%3E%3Cellipse%20fill%3D%22%23646465%22%20fill-opacity%3D%22.5%22%20rx%3D%221%22%20ry%3D%221%22%20transform%3D%22matrix(27.90004%20-15.78509%2042.03114%2074.2898%20194.2%20253.4)%22%2F%3E%3C%2Fg%3E%3C%2Fsvg%3E) Urban Aquaculture Kit with Kratky Lid for Wide Mouth Mason Jars – Includes 6 Pods (Black Version)$9,999.99
Urban Aquaculture Kit with Kratky Lid for Wide Mouth Mason Jars – Includes 6 Pods (Black Version)$9,999.99
Forum
Got something to share or a question to ask? Jump in and start a conversation! Whether it’s tips, advice, or just sharing your experiences, we’d love to hear from you. Don’t be shy—your input could inspire or help someone else!- This forum has 1 topic, and was last updated 10 months, 2 weeks ago by .
- Topic
- Voices
- Last Post
- You must be logged in to create new topics.
