In the world around us, finding innovative ways to produce food has become a necessity. In response to this challenge, we are excited to share with you the step-by-step process of building your own mini hydroponic system at home. By using hydroponic technology, you’ll not only be producing fresh, organic crops right in your backyard, but you’ll also be contributing to sustainable farming practices. The beauty of this system is that it doesn’t require vast areas of land or heavy labor, and it ensures a steady supply of healthy, fresh produce all year round. Join us in journeying through this fascinating, eco-friendly, DIY project that incorporates simple science and your passion for gardening. Trust us, it’s easier than you might think!
Understanding Hydroponics
Hydroponics is a unique type of gardening that grows plants without soil. Instead, it utilizes a water-based nutrient solution. This method enables plants to receive nutrient directly from the water, avoiding the intermediary process of soil absorption. In essence, hydroponics is about growing plants in water.
Definition of hydroponics
Hydroponics comes from the Greek words “hydro” meaning water, and “ponos” meaning work. It’s a method of growing plants without soil by using mineral nutrient solutions in a water solvent. In other words, it’s a technique of soilless gardening.
Different types of hydroponic system
There are six types of hydroponic systems: the Wick System, Deep Water Culture, Nutrient Film Technique, Ebb and Flow or Flood and Drain, Aeroponics, and Drip Systems. Each has its specifications and complexities, but they all revolve around the same principle: supplying plants with nutrients directly through water.
Benefits of hydroponics
Hydroponics offers multiple benefits. Firstly, plants grow faster in a hydroponic system compared to traditional soil-based gardening due to direct nutrient absorption. Secondly, it is eco-friendly as it uses less water. Finally, it allows for year-round farming regardless of the external weather condition making it ideal for urban farming.
Challenges of hydroponics
While there are many benefits to hydroponics, there are also challenges. The initial setting up cost can be high, and it requires constant monitoring and maintenance to prevent issues like nutrient deficiencies or machinery failure. Additionally, power outages can prove fatal to your plants as oxygen supply can be cut off.
Essential Components of a Mini Hydroponic System
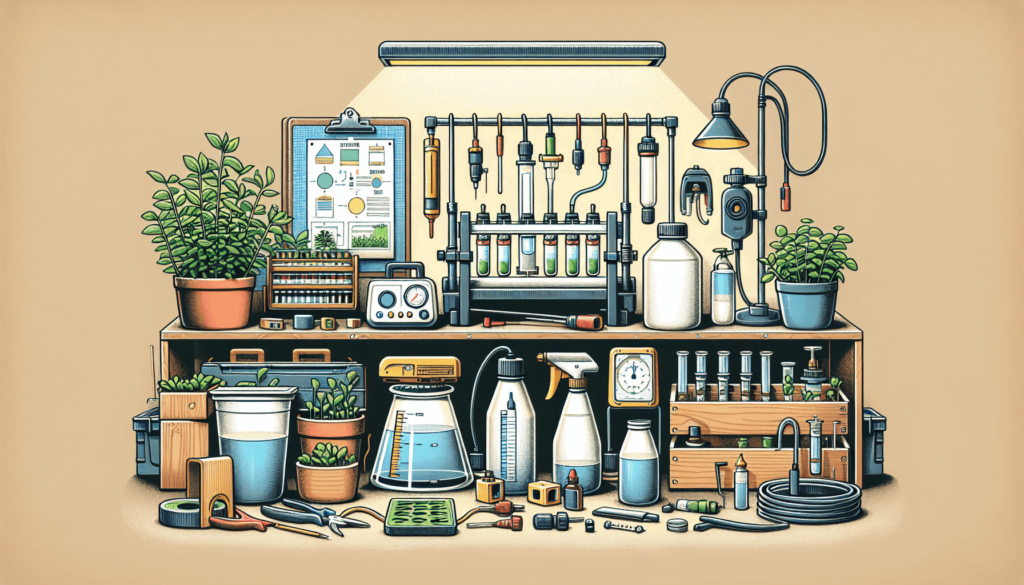
Setting up a mini hydroponic system involves several components. These ensure the successful growth of your plants. Let’s take a closer look at them.
Growing medium: defining and choosing an optimal type
The growing medium in a hydroponic system replaces the soil in traditional gardening. It anchors the roots and helps in nutrient retention. Examples of growing mediums include Perth, Rockwool and Coconut Coir. The choice of a growing medium depends on your plant needs and the type of hydroponic system you are setting up.
Nutrient solution: preparation, management and its importance
In a hydroponic system, plants feed directly on the nutrient solution. It is a blend of essential minerals dissolved in water, which plants absorb directly from their root system. The solution needs to be regularly monitored and managed to ensure it maintains the right nutrient levels.
Light source: importance and selection
Light is vital for photosynthesis to occur in plants. In an indoor hydroponic system, grow lights perform this function. The choice of grow light – whether LED, fluorescent, or HID – depends on your plant type and the size of your hydroponic setup.
Water pump and air stone: function and selection
The water pump circulates the nutrient solution through the system, ensuring all plants have equal access to nutrients. On the other hand, the air stone supplies oxygen to the nutrient solution, necessary for root health. The choice of both equipment depends on the size of your hydroponic setup and the plant requirements.
Appropriate containers and reservoirs
The container holds the growing medium and plants, while the reservoir holds the nutrient solution. Both should be sturdy, dark (to prevent algae growth), and of appropriate size based on your system’s scale and the plants you’re growing.

Setting Up Your Mini Hydroponic System: Step by Step
Now that we understand the components of a mini hydroponic system let’s set one up.
Choosing a suitable location
The location should receive plenty of light, have access to water, and be safe for electricity use.
Setting up your container and reservoir
Place your containers in the chosen location and ensure they are level. The reservoir should be below the containers.
Arranging your growing medium
Fill your container with the chosen growing medium. Ensure it’s securely holding the plants.
Installing the water pump and air stone
Place the water pump in the reservoir and connect it to the container. The air stone should be submerged in the reservoir.
Integrating the light source
Position the light source above the plants, ensuring all plants receive equal light.
Choosing the Right Plants
Before you start planting, you have to choose the right plants for your mini hydroponic system.
Suitable plants for mini hydroponic system
Herbs, spinach, and lettuces are great choices for beginners due to their robustness and fast growth.
Factors to consider when choosing plants
Consider the size of the plant at full maturity, their nutritional requirements and compatibility with other plants in the system. It’s best to choose plants with similar growth requirements.

Planting and Transplantation
Once you’ve chosen your plants, it’s time to start planting.
Germinating seeds for hydroponic system
Seeds can be germinated in a special seedling starter cube or directly sown in the growing medium in your hydroponic system.
Transplanting seedlings into mini hydroponic system
When the seedlings have grown their second pair of leaves (true leaves), they can be transplanted into the hydroponic system. Place them gently in the growing medium without disturbing their roots.
Maintaining Your Mini Hydroponic System
Regular maintenance is key in running a successful hydroponic system.
Monitoring and controlling light levels
Ensure your plants get around 10-14 light hours per day. Too much or too little can harm plant growth.
Regulating nutrient solution
Regularly check on the nutrient levels, topped off when necessary. Change the solution completely every 2-3 weeks.
Checking pH and EC regularly
It’s important to monitor the pH and EC levels of the nutrient solution as this can influence nutrient uptake and overall plant health. The ideal pH and EC depends on the type of plant you’re growing.
Cleaning and system maintenance
Clean the system at least once a month to prevent the build-up of salts and algae.
Managing Common Problems
Like all growing systems, hydroponics has its issues. Let us discuss some of the most common ones.
Identifying common pests and diseases
Just like soil-grown plants, hydroponic plants can also be infected with pests and diseases. Watch out for symptoms like yellowing leaves, stunted growth, or pest presence.
How to treat common pests and diseases
Treatment can include natural pesticides, introducing beneficial insects, or even manually removing the pests.
Preventing pests and diseases in a hydroponic
Prevention is always better than cure. So, carry out regular checks, clean your system regularly and ensure good air circulation in the grow area.
Harvesting Your Produce
Once your plants have fully grown, it’s time for the most rewarding part: harvesting.
Optimal time for harvesting different plants
Different plants have different harvesting times. For example, leafy greens can be harvested once they have reached an adequate size, while tomatoes can be harvested when they become bright and firm.
Proper harvesting methods
Always use clean, sharp tools to harvest your plants, to avoid infecting the plants.
How to store and use your harvested produce
After harvesting, store your produce in a cool place away from direct sunlight and consume as soon as possible to maximize freshness and nutrient content.
Expanding Your Mini Hydroponic System
If you’re successful with your mini system and want to scale up, there are a few things to consider.
Steps for scaling up
Expanding your system might involve adding more containers and reservoirs or even moving to a larger location.
Factors to consider when expanding
When expanding, consider the additional cost, time and space required. It’s also important to consider the amount of light each plant will get in the larger setup, to ensure optimal growth.
Additional requirements for a larger system
With a larger system, you may need to invest in more advanced equipment such as larger pumps and lights, and possibly automation for tasks like pH and nutrient level checks.
Environment Impact and Sustainability
Home hydroponic systems are not just rewarding, but also sustainable.
Environmental benefits of hydroponics
Hydroponic systems use significantly less water than traditional gardening. They don’t use pesticides and reduce the need for land clearing for agriculture.
How to make your system more sustainable
You can make your system even more sustainable by recycling the water, composting plant waste, and utilizing renewable energy sources for powering your system.
Recycling and waste management in hydroponic system
Effectively managing waste in your hydroponic system includes properly disposing of old nutrient solution and reusing or composting unused growing medium. You can recycle water by setting up a capture system for runoff.
So, are you ready to start your mini hydroponic journey? Remember, it may seem overwhelming at first, but once you cycle through a few growth sessions, it’ll become second nature. Happy farming!
Forum
Got something to share or a question to ask? Jump in and start a conversation! Whether it’s tips, advice, or just sharing your experiences, we’d love to hear from you. Don’t be shy—your input could inspire or help someone else!- This forum has 1 topic, and was last updated 9 months, 2 weeks ago by .
- Topic
- Voices
- Last Post
- You must be logged in to create new topics.


